
これまでにStable Diffusion(AUTOMATIC1111)をWindowsやDockerで構築する手順を紹介してきました.
この記事では,よりGPU性能を引き出すためにサーバーとしてStable Diffusionを構築する手順を記載します.
Stable Diffusionをサーバとして構築する方法
サーバとして画像生成AIを構築するイメージとしては下図のようなかんじです.高スペックなサーバを用意して,出先などからサーバにアクセスし,AIで画像を生成します.極端な話,スマホからでも操作することは可能です.

サーバとして構築することで,次のようなメリットがあります.
- サーバとして稼働しているため,出先から簡単にアクセスし画像生成できる
- OSの常駐プログラムやグラフィック処理が不要なため,マシンの性能を最大限引き出すことができる
AIのタスクは高性能なGPUを必要とします.Windowsなどの一般的なOSでこれを実行すると,画面表示などのためのグラフィック処理でGPUの力が使われてしまうことがあります.それにより,AIの処理に十分なパワーが行き渡らず,性能が低下します.しかし,専用のサーバーとして構築すれば,このような問題を回避できます.
Conda
この記事では,condaを利用してPythonを管理します.
まずは,Condaをインストールします.
wget https://repo.anaconda.com/miniconda/Miniconda3-latest-Linux-x86_64.sh
bash Miniconda3-latest-Linux-x86_64.sh

Welcome to Miniconda3 py311_23.5.2-0

In order to continue the installation process, please review the license
agreement.
Please, press ENTER to continue
>>>
Anaconda has self-classified this software as Export Commodity Control Number (ECCN) EAR99, which includes mass market information security software using or performing cryptographic functions with asymmetr
ic algorithms. No license is required for export of this software to non-embargoed countries.

The Intel Math Kernel Library contained in Miniconda is classified by Intel as ECCN 5D992.c with no license required for export to non-embargoed countries.

The following packages listed on https://www.anaconda.com/cryptography are included in the Repository accessible through Miniconda that relate to cryptography.

Last updated March 21, 2022


Do you accept the license terms? [yes|no]
[no] >>> yes
Pythonは3.10.6が推奨されているため,バージョンを指定して仮想環境を作成します.
conda create -n a111 python=3.10.6
また,Condaの詳細に関しては,下記記事にまとめてあります.興味があればご覧ください.

Stable Diffusion (A1111)をインストール
ここでは,AUTOMATIC1111のVersion 1.6.0をインストールする方法を示します.
AUTOMATIC1111のGitHubのリリースにアクセスし,1.6.0を探します.

Source Codeのリンク先から,ソースコードをwgetを用いてダウンロードします.
wget https://github.com/AUTOMATIC1111/stable-diffusion-webui/archive/refs/tags/v1.6.0.tar.gz
任意の場所で解凍すれば,ひとまず準備完了です.
tar xvf v1.6.0.tar.gz
Stable Diffusionをサーバとして起動
まずは,先ほど作成した仮想環境を読み込みます.
conda activate a1111
次に解凍したディレクトリに移動し,スクリプトを実行します.スクリプトを実行することで,自動的に必要なパッケージなどをダウンロードしてきて,環境を構築してくれます.
cd stable-diffusion-webui-1.6.0
./webui.sh --share
初回起動は時間がかかるので注意が必要です.
--shareオプションを付けることで,別マシンからのアクセスが可能になります.
./webui.sh --share
...
...
...
Running on public URL: https://xxxxxxxxx.gradio.live
...
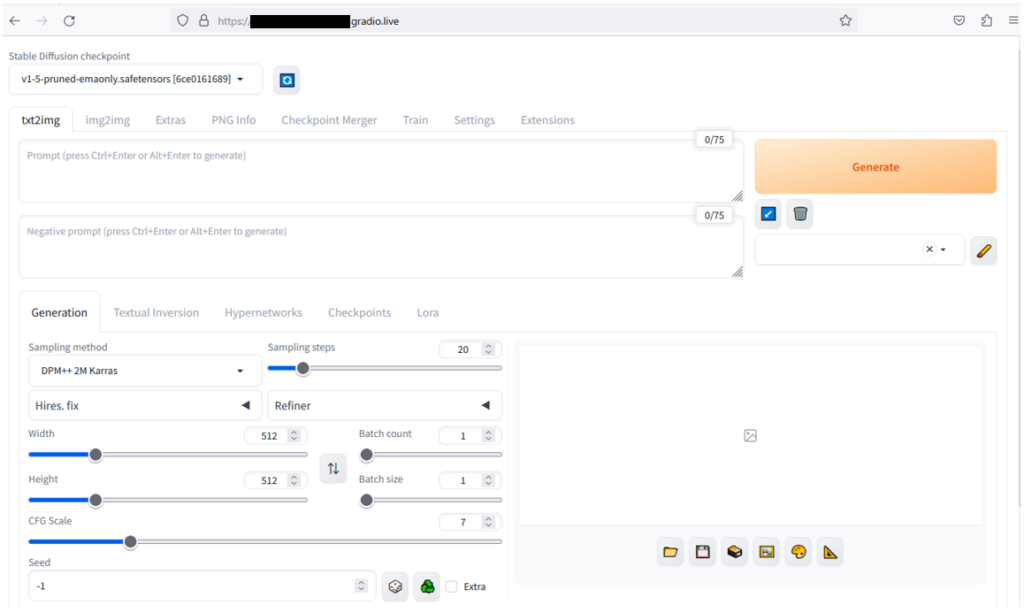
ブラウザでhttps://xxxxxxxxx.gradio.liveにアクセスするとStable Diffusionを利用可能になります.
以上が,サーバとしてAUTOMATIC1111を導入する方法です.
具体的なStable Diffusionの利用方法はすでに記事をまとめてあるので,下記記事などをご覧ください.